

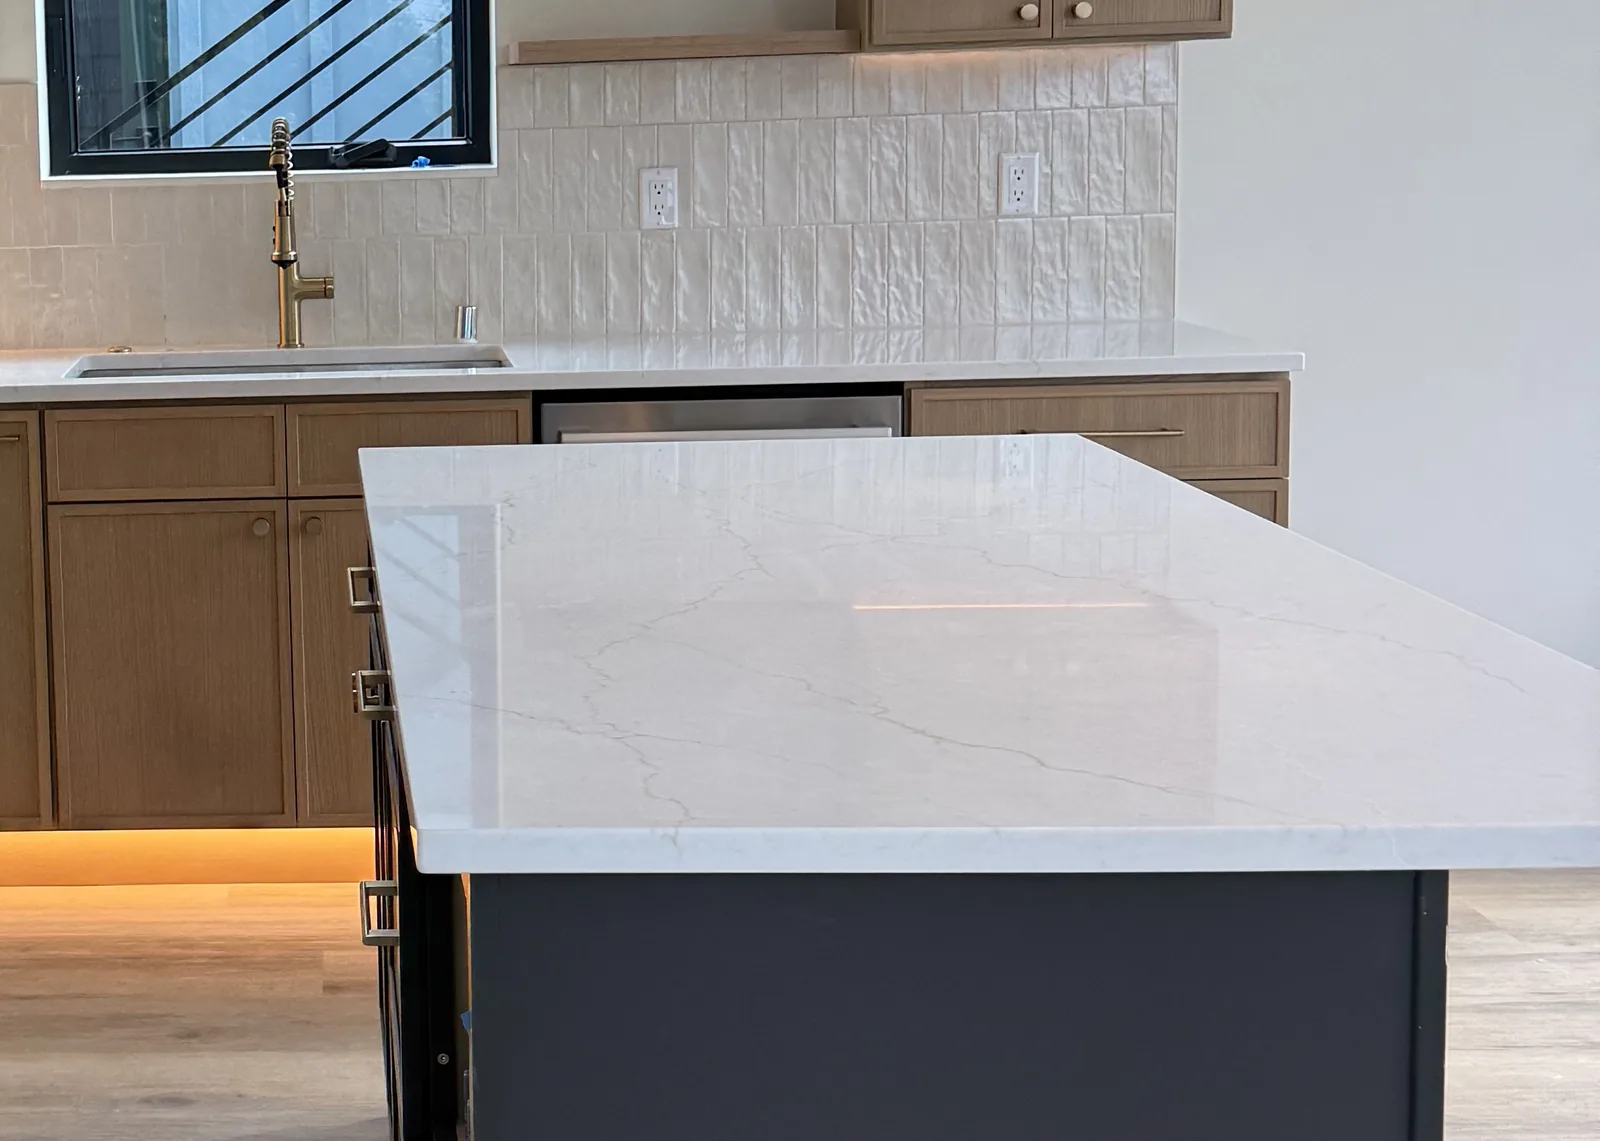
A seam that has opened, lifted on one side or turned into a dark line is almost never about the stone itself. The joint is doing what a joint does when something around it changes. Mostly that is good news, because the fix is usually a reset rather than a new countertop. It is also why filling the gap without finding the cause buys you a year at best.
What a seam is, and what it will never be
A slab has a finite size. Most quartz slabs run a little over ten feet, and natural stone varies piece by piece, so any run or island longer than the material arrives in more than one piece. Where two pieces meet, the edges are cut straight, pulled together with suction clamps and bonded with an epoxy pigmented to match the stone. Done well, the joint is tight, flat to the hand and close in color.
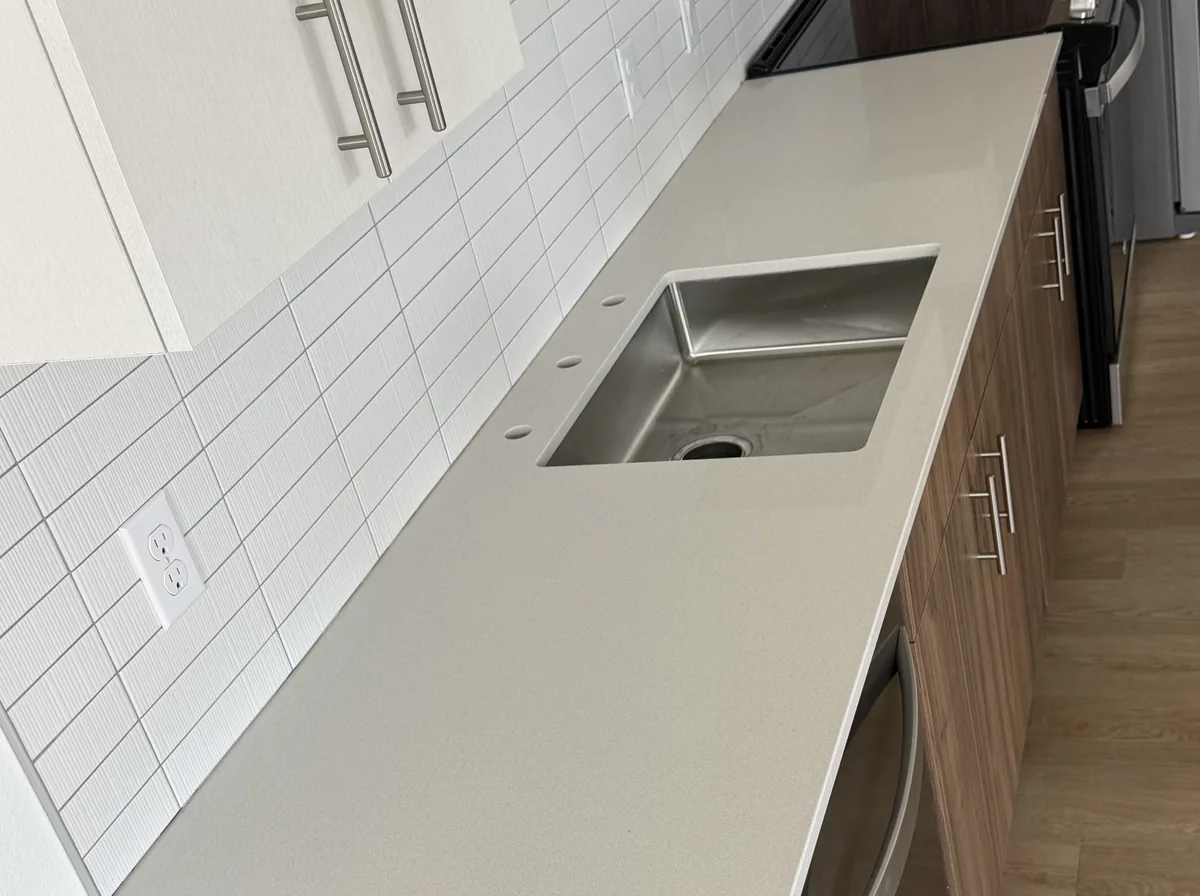
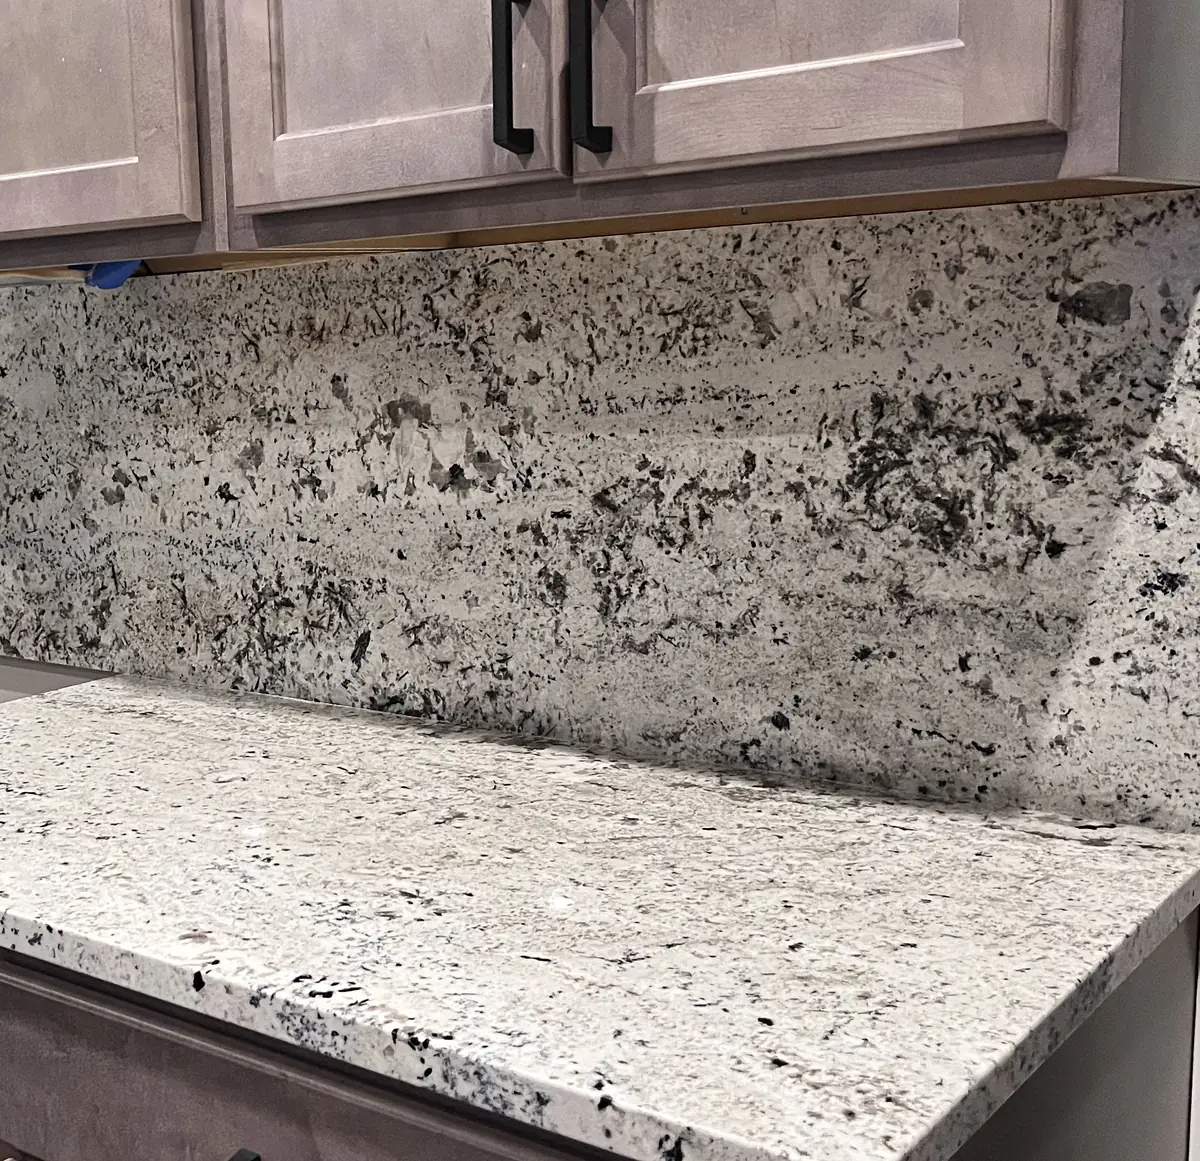
What it is not, and never was, is invisible. In a busy granite or a veined quartzite a good seam is genuinely hard to find. In a plain light quartz you will see the line in daylight if you look for it, because there is no pattern for it to hide in. Where the joint falls gets decided before fabrication, and how seam placement is planned is worth reading if you are still at that stage.
So the question is never whether you can see the joint. It is whether the joint is still closed, level and sealed. When one of those three goes, you have a repair rather than a cosmetic opinion.
Four reasons a good seam opens
These cover nearly all of them, and they are not equally serious. Two are structural, one is water, and one is a product that should never have been used there.
The cabinets moved
Houses move. Framing settles, a floor gets releveled, a heavy appliance is pulled out and pushed back. A run that was dead level the day it went in is not necessarily level three winters later, and once the two pieces sit at slightly different heights, the epoxy in the joint, which is strong but brittle, lets go. This is the most common cause we find and the one homeowners least expect, because nothing visibly happened.
Water got underneath
Seams near a sink are the ones that go dark. Water sits in the line, works past the fill and reaches the cabinet deck underneath. Particleboard swells, the deck rises unevenly, and one side of the joint lifts. An undermount sink that has started to drop feeds the same problem from below.
There was never enough support under it
A joint placed over a dishwasher, over a cutout corner or across a long open span carries load the stone was not meant to carry alone. It holds for a while, then works loose. Same mechanism as cracks over the dishwasher, and the same correction: the span gets a deck or a bar under it before anything is bonded back together.
The joint was closed with the wrong product
Occasionally we open a seam and find silicone where epoxy belonged. Silicone stays flexible, picks up grease and turns gray. It is the least serious of the four, but it has to come out completely, because nothing bonds to a surface that has had silicone on it.
If you cannot tell which of the four you have, that is normal, and it is the part we settle on site before anyone quotes anything. Call 206-653-4479 or send photos through our contact page, and we will tell you what we think it is at no charge.
The two minute test before you call anyone
Five checks, and you can do all of them with a flashlight and a fingernail. What you find changes the repair more than any photograph will.
Run a fingernail across the line. If it catches on one side, the two pieces are no longer at the same height, and that is a leveling job, not a filling job. Press firmly on each side in turn. If either side gives or you hear a small click, something underneath has moved. Put a flashlight on the counter and shine it low across the joint. Low light shows whether the fill is gone, chipped out or just discolored. Look at the color of the line. A gray or black line means the joint is open and holding water and grease. Open the cabinet directly below. Feel the deck under the seam for damp, softness or a swollen edge.
Write the five answers down. Together they tell us whether we are refilling a joint, lifting two pieces to reset them, or building support that was never there.
Repair, reset or recut
Treat the table as a starting point rather than a diagnosis. Two seams that photograph identically can be very different jobs depending on what the cabinet below is doing.
| What you see | Usual cause | What the repair involves |
|---|---|---|
| Thin dark line, no step, nothing moves | The original fill has shrunk or stained | Joint cleaned out and refilled with color matched epoxy |
| A step you can feel with a fingernail | One side has dropped | Both pieces lifted, re-shimmed level, then rejoined |
| A gap wide enough for a card | The joint pulled apart as the run moved | Cut back to bare stone and reset, not filled over |
| Seam over the dishwasher, opening again | No deck or bar under the span | Support added underneath before anything is bonded |
| Seam beside the sink, dark and damp below | Water tracking into the joint | Sink and cabinet deck dealt with first, then the joint |
| A soft, rubbery line that smears | Silicone used where epoxy belonged | Silicone fully removed, edges re-cut clean, then epoxied |
| Stone cracked at the end of the seam | The joint was carrying load it should not | Usually a new piece for that section rather than a fill |
The last row is the only one that routinely ends in replacing stone, and even then it is normally one piece and not the whole kitchen. If that is where you have landed, our countertop replacement page covers how a partial run is handled, and the budget planner will put a range behind a larger change in about two minutes.
How the repair actually runs
The order matters more than the materials. Cause first, joint second, every time.
The old fill comes out with a blade, cut to bare stone on both edges, then wiped with solvent. Anything left in there, old epoxy, silicone or kitchen grease, stops the new bond from taking, and that is the most common reason a seam repair fails twice. If one side has dropped it gets lifted and shimmed level, or a support bar or deck goes in under the span. Only then do the seam setters go on, the suction clamps that pull the two pieces together and flush at the same time.
The epoxy is pigmented against your stone on site, not picked from a chart, which is why plain light materials take longest to match. Excess is razored off as it cures and the line is worked back to the finish around it.
Most are a single visit. What stretches a seam repair is never the joint, it is whatever has to happen underneath first: a sink reseated, a swollen deck replaced, a support built. Afterwards, keep standing water off the line, skip the steam cleaner along it, and redo the caulk where the countertop meets the backsplash when it shrinks away.
If your seam is in Snohomish or King County, we cover it. See countertop repair in Lynnwood, in Seattle or in Kent, or call 206-653-4479 and describe what the fingernail test told you.
What moves the cost
We do not publish a price for a seam and we will not quote one from a text message, because the same looking gap can be a short refill or half a day with the sink out. What moves it is the length of the joint, whether the pieces have to be lifted at all, whether support has to be built underneath, whether a sink or cooktop comes out to get at it, how hard the house is to get into, and how plain the material is. Color matching a busy granite is quick. Color matching a plain white quartz is the slow part of the day.
The visit settles all of that before any work starts, and the countertop repair page explains what a visit includes.
By material, briefly
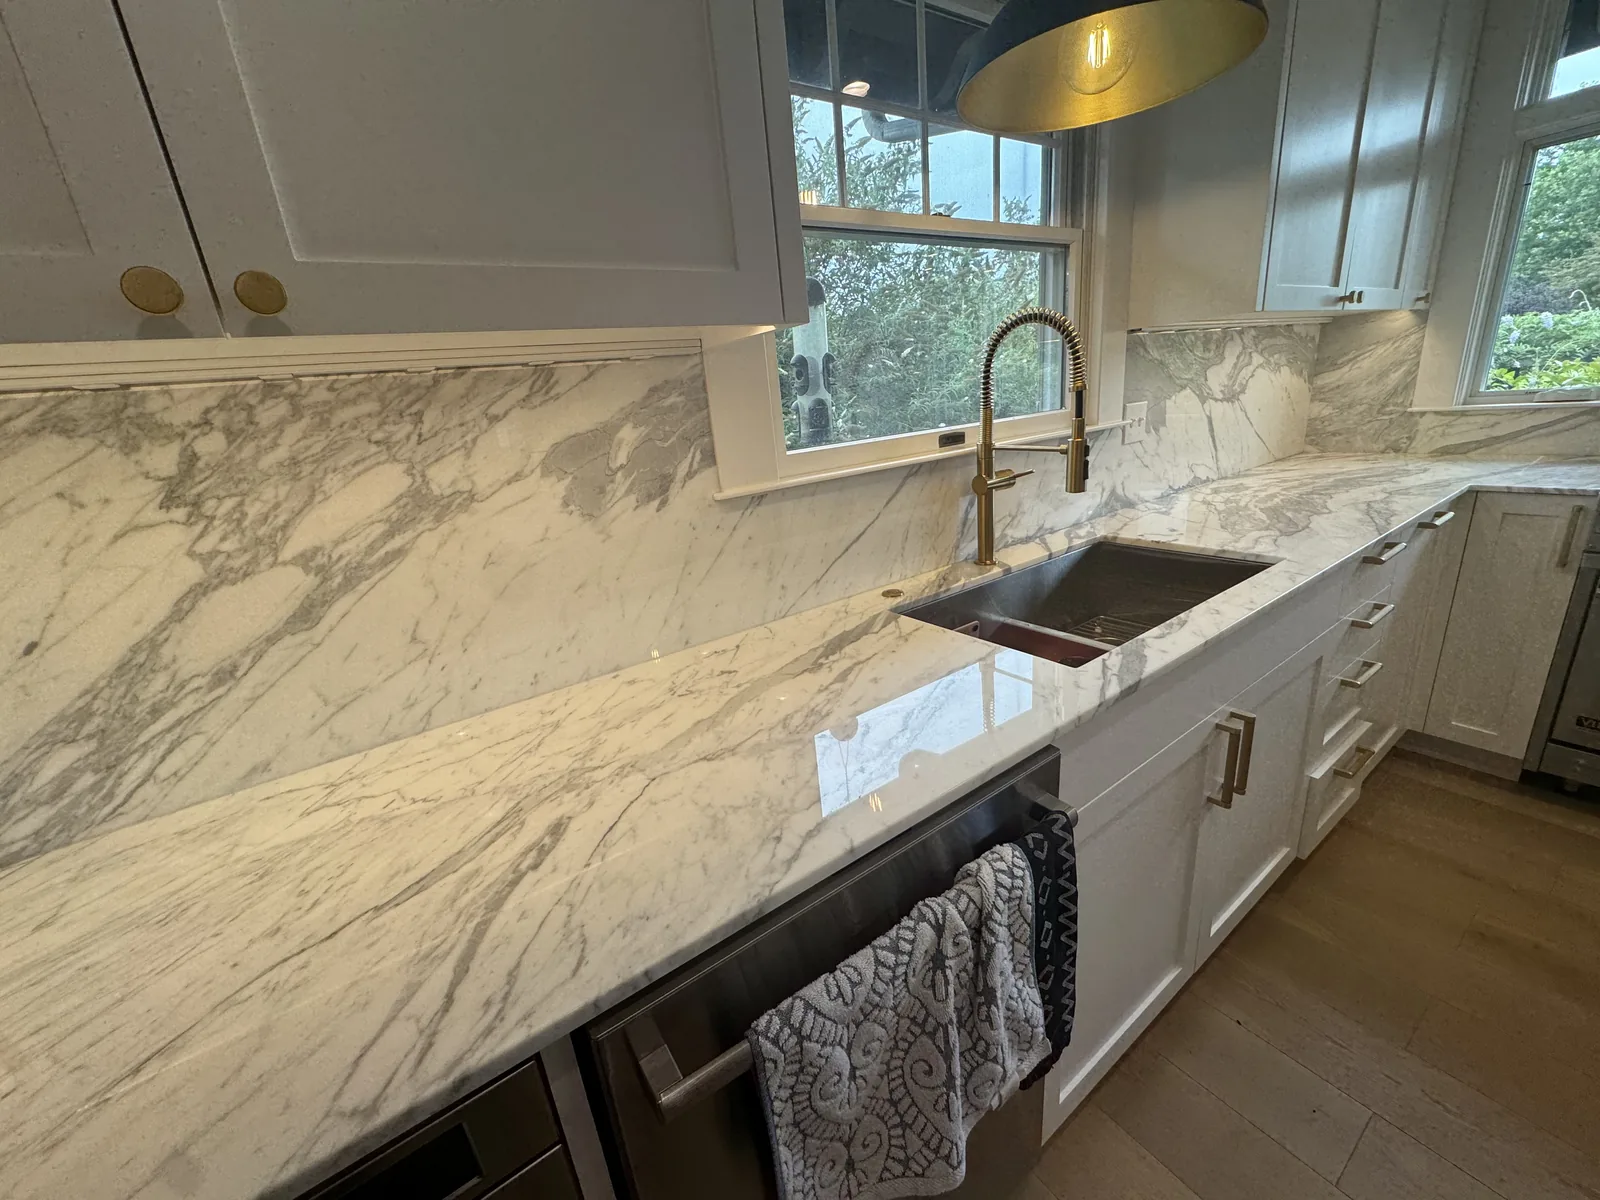
Quartz takes pigment well and behaves predictably, but a plain color gives the fill nowhere to hide. Granite is the most forgiving, because pattern does the work, and it is the one material where the joint wants sealing along with the rest of the surface. Quartzite is hard and brittle right at the edge, so the cut back has to be gentle and the polish takes longer. Marble etches at the joint from the same spills that etch everywhere else.
There is more depth on each one at quartz countertop repair, granite countertop repair and quartzite countertop repair.
Frequently asked questions
Why is my countertop seam separating?
Almost always one of four things. The cabinets under it have moved, so the two pieces no longer sit at the same height. Water has tracked into the joint and swollen the cabinet deck below. The joint was placed over a span with no support under it, such as a dishwasher opening. Or it was closed with silicone instead of epoxy, which never held in the first place. The fingernail and flashlight checks will usually tell you which group you are in.
Can a separated seam be repaired without replacing the countertop?
In most cases yes, and the countertop stays in the kitchen. The joint is cut back to bare stone, the cause underneath is corrected, the two pieces are pulled together with suction clamps and bonded with color matched epoxy. Replacement only enters the conversation when the stone itself has cracked at the end of the seam, and even then it is usually one piece rather than the whole run.
Will the repaired seam be invisible?
No. A joint between two pieces of stone is always a joint, and anyone promising otherwise is overselling. What you should get is a line that is closed, flat to the hand, sealed against water and much closer in color than the open gap you have now. On busy natural stone it will be hard to find. On a plain light quartz you will know where it is.
Is the dark line along my seam mold?
Usually it is water and kitchen grease sitting in an open joint, which reads as gray or black against light stone. The thing worth checking is underneath. Open the cabinet directly below the seam and feel the deck for damp or swelling. If the deck is wet, the joint is only half the problem and the water has to be stopped first.
My seam opened a few weeks after installation. Is that normal?
No, and it is worth raising with whoever installed it. A joint that lets go that early is nearly always a leveling problem that did not show until the cabinets took their full load, or a span that needed support it never got. Neither is something that gets better on its own, and both are straightforward to correct while everything is still new.
Can I close a countertop seam myself with caulk?
It will look closed for a while, and it makes the real repair longer. Silicone has to be removed completely before anything will bond there again, which means more cutting back than the original joint needed. If the gap is wide enough to worry you, photograph it and ask before you put anything in it.
Send three photos and we will tell you what it is
Three photographs settle most seams: one straight down on the line, one from the side with the light low across the surface, and one inside the cabinet directly under the joint. Send them through our contact page or call 206-653-4479. Top Granite is a family business based in Lynnwood, serving greater Seattle and the Eastside, Monday to Friday 8am to 6pm and Saturday 8am to noon.
What could your
countertops cost?
Answer a few questions about your space and material and get an estimated range in about two minutes. Your formal quote follows a laser template and a review of the scope.
Your ideas in. A clearer next step out.
Rather talk it through? 206-653-4479 ↗︎What would you like to change?
Which material are you leaning toward?
Build my countertop estimateChoose your details and see your estimated range.
Related reading.
Repair or replace your countertop? 7 damages compared
A chip at the sink, a crack over the dishwasher, a seam that opened. See which countertop damage is worth repairing, when replacement is the better buy, and what moves the cost.
Read article ↗︎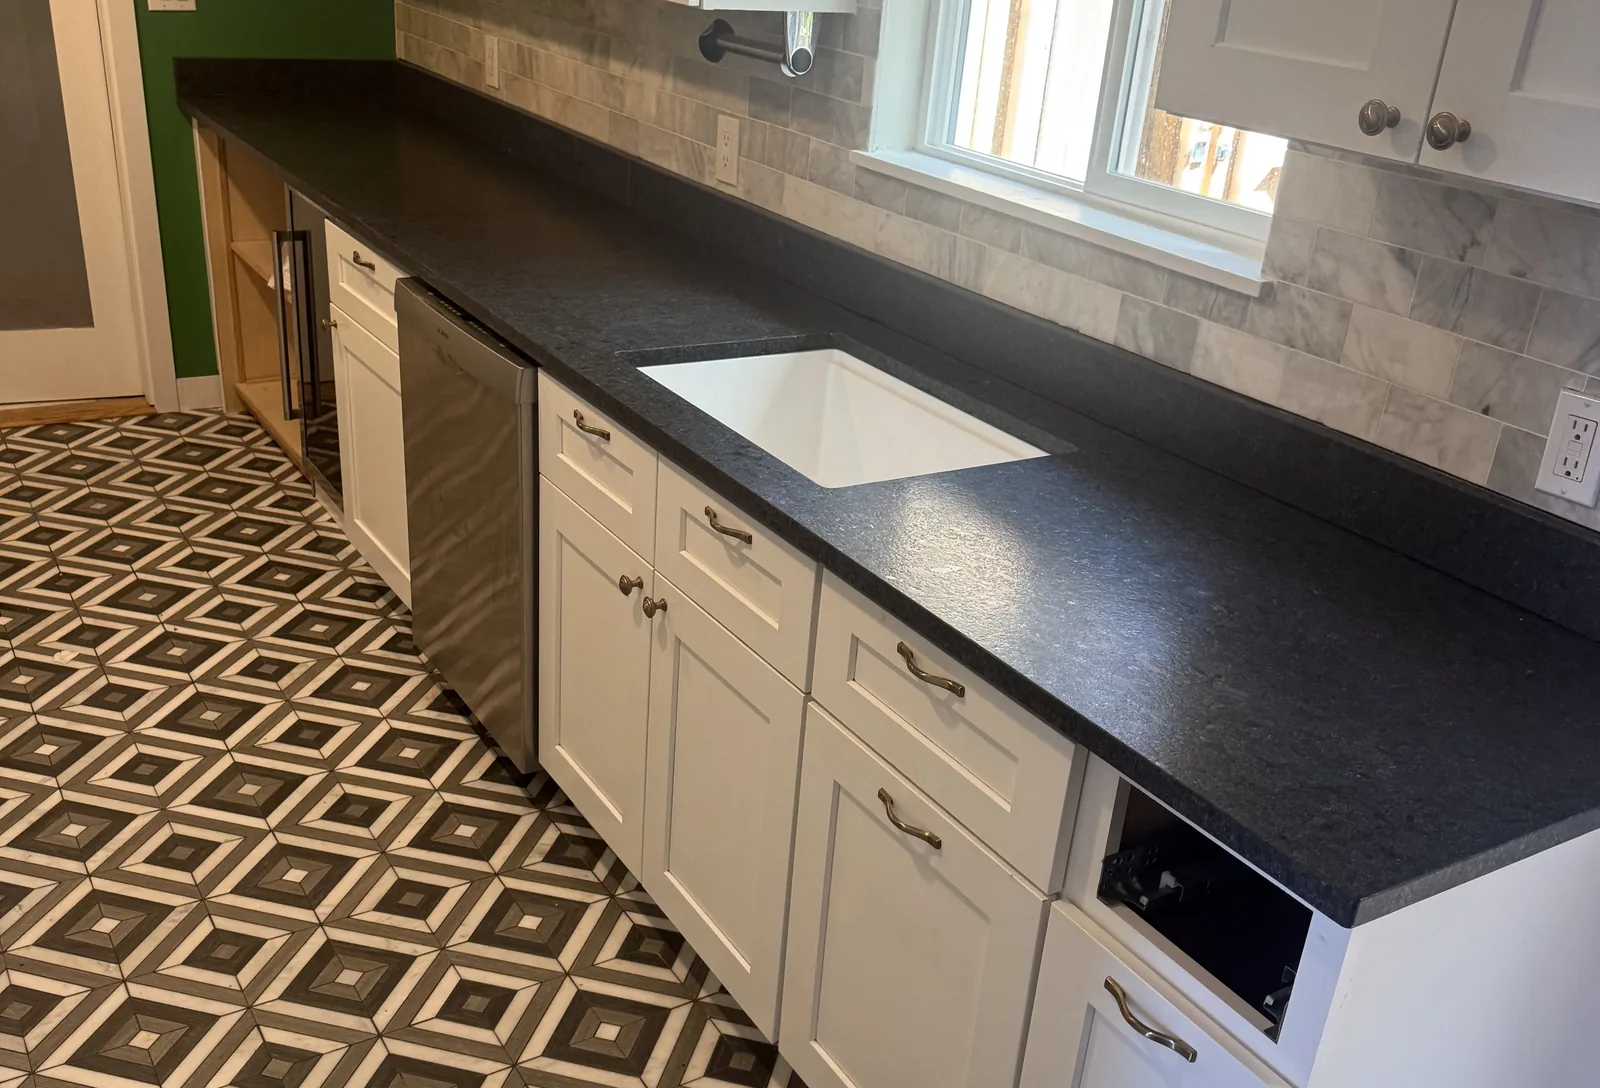
Why countertops crack over the dishwasher and at cutouts
A crack in front of the dishwasher, or out of a cutout corner, is almost never a bad slab. It is an unsupported span, heat from the appliance and hardware pressing on the stone. How to read where it started, what a repair can honestly do, and what prevents the next one.
Read article ↗︎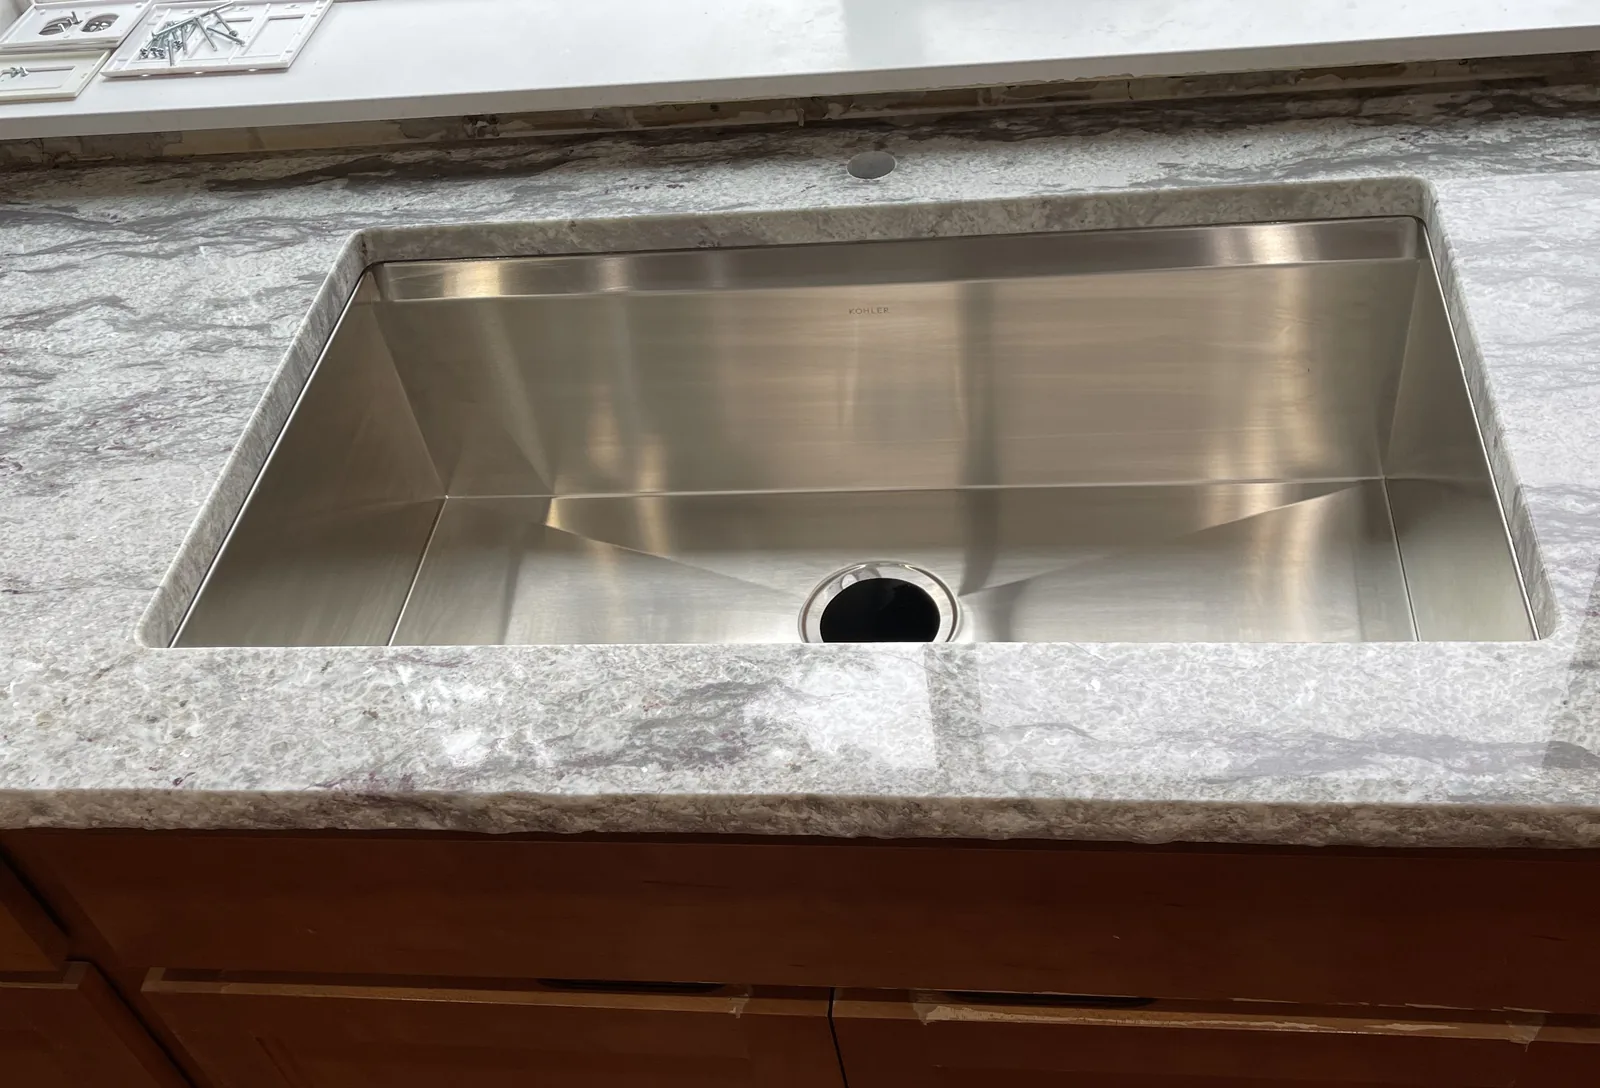
Your undermount sink came loose: why it happens and what fixes it
A sink that has dropped, tilted or pulled away from the stone is a mounting failure, not a stone failure. What to do in the first ten minutes, the seven things that cause it, and what a proper re-set actually involves.
Read article ↗︎Bring your ideas.
We’ll help with the next step.
Choose the next step that feels right for you.