

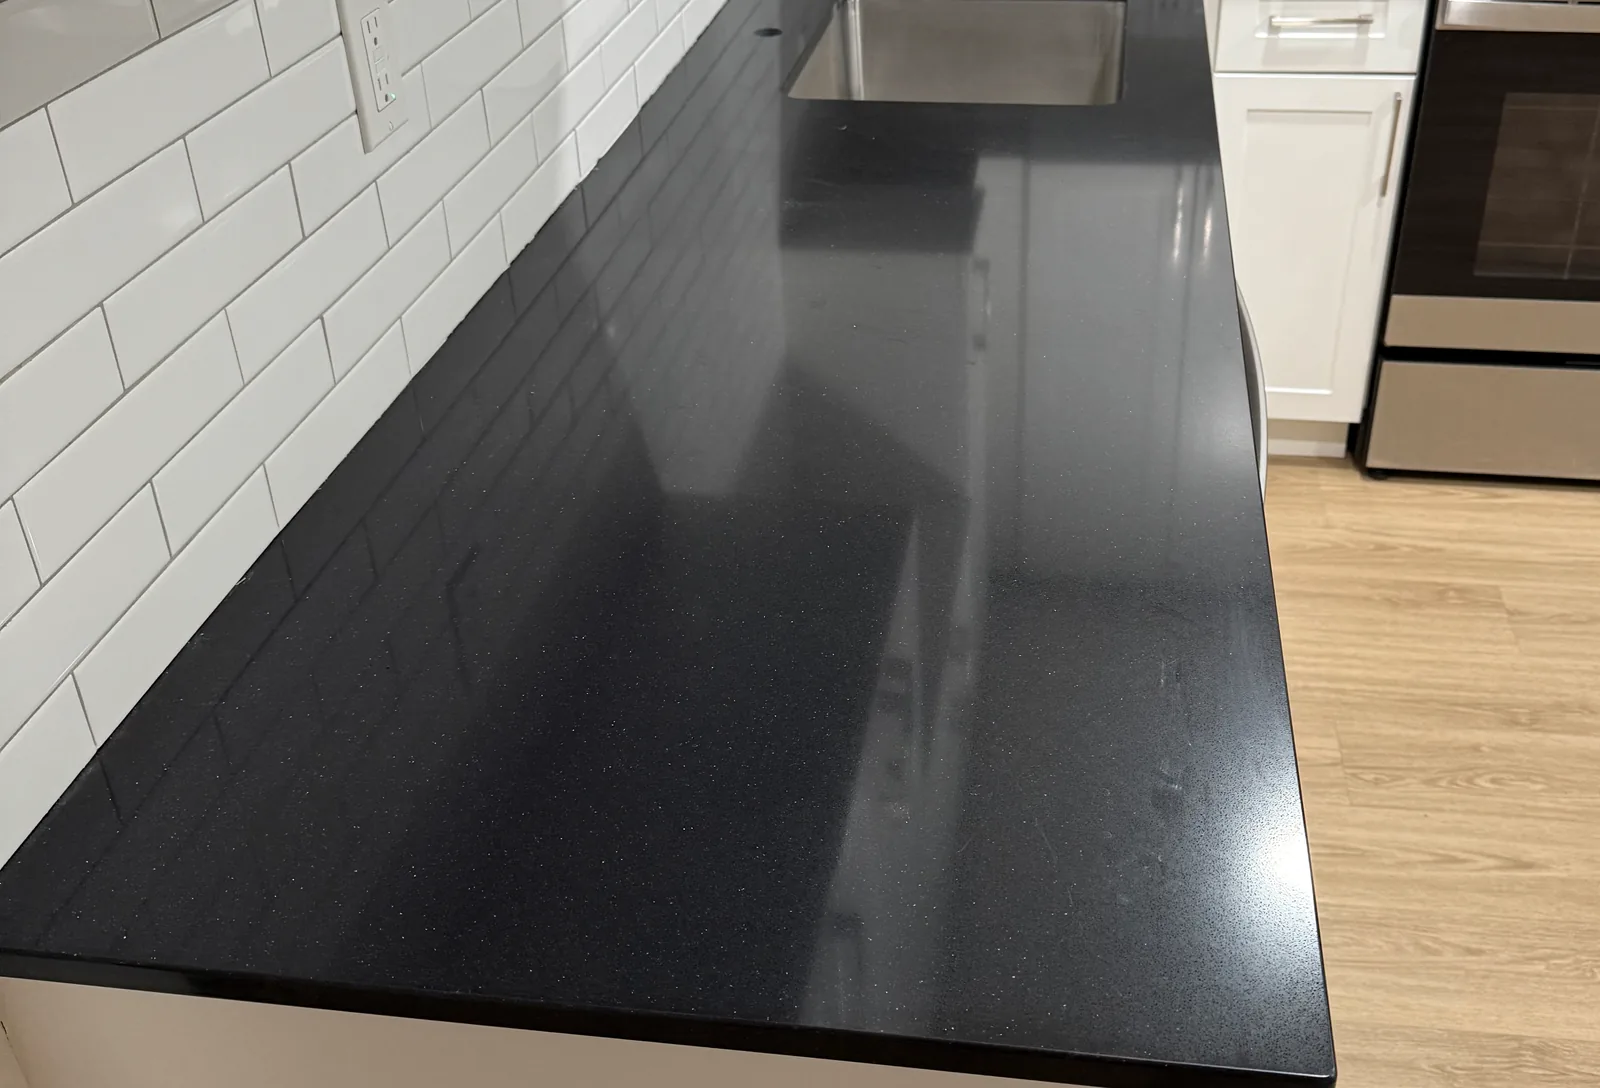
Black or peeling caulk between a countertop and a backsplash is usually a maintenance job, not a countertop problem. Take out the old bead completely, clean the joint with rubbing alcohol, let it dry, and lay a thin new bead of mold resistant silicone that is safe for your stone. If the gap is growing or the wall feels soft, look further first.
What you are looking at, and what it means
Before you buy anything, get close to the joint with a flashlight and a damp cloth. Most of what goes wrong along this line falls into one of seven patterns.
| What you see | What it usually means | What to do |
|---|---|---|
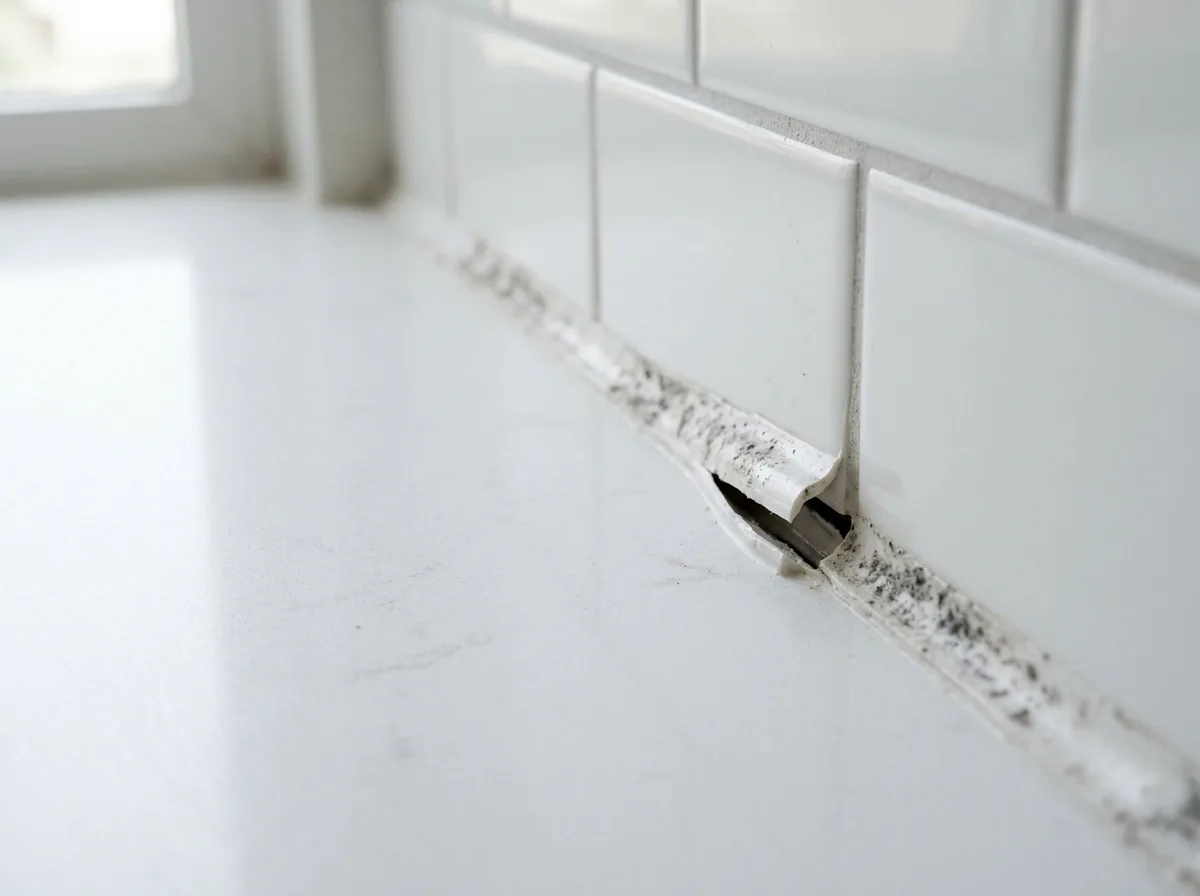
| Gray or black specks that wipe off | Mildew film on the surface of the bead | Clean it, dry the joint, and keep an eye on it |
| Black specks that stay after cleaning | Mildew inside the bead or behind it | Replace the bead. No cleaner will reach it |
| Bead peeling away in strips | It lost its grip, often from poor prep or new caulk laid over old | Remove it all and redo it |
| Thin crack along one edge of the bead | Normal movement, or a bead that was too thin | Redo it. If it comes back in weeks, read the section on warning signs |
| Gap wider than it used to be | The counter, the cabinet or the wall has moved | Find out why before you reseal |
| Soft drywall or a swollen cabinet back | Water has been getting behind for a while | Find the water first. Caulk comes last |
| A line running through the stone itself | That is a seam, not a caulk joint | Different repair, done with color matched adhesive |
Most homes land in the first four rows, and those you can handle yourself. If you are in the last three, or you are planning to replace the counter anyway, the budget planner takes about two minutes and has a repair option where you can send photos of what you have.
Why this joint gets caulk and not grout
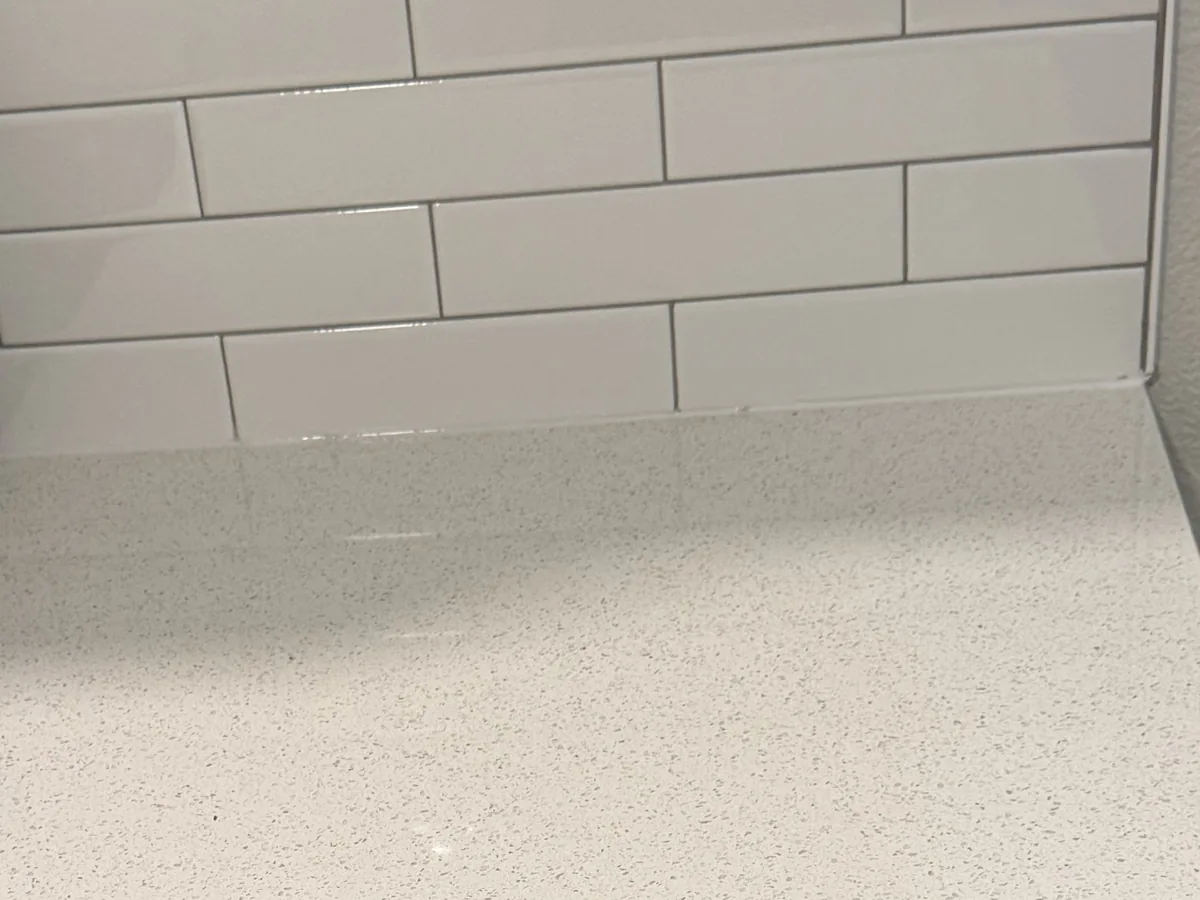
A countertop sits on cabinets. The backsplash is fixed to the wall. They are two separate things that shift a little on their own, with the seasons, with the house settling and with the weight you put on the counter. A flexible sealant stretches with that movement. Grout is hard, so it cracks along the line, usually within a season or two.
That also explains a common complaint. If someone grouted the bottom row of tile straight down to the stone, you get a crack that keeps coming back no matter how many times it is patched. The fix is to take the grout out of that one joint and replace it with sealant. The tile above it can stay as it is.
The joint also has a hard life. It sits behind the sink, it gets wiped constantly, and soap settles there. Add long, damp Western Washington winters and windows closed for months, and mildew has what it needs. So a dark bead does not mean anyone did a bad job. It is a wear item, like the seal on a shower door.
Which sealant to buy, by countertop
The shelf is confusing, and on natural stone the wrong tube can leave a mark that outlasts the caulk. Here is what matters.
- Granite and quartzite: a neutral cure silicone labeled safe for natural stone. Porous stone can pull oils out of some silicones, which shows up later as a dark line beside the bead.
- Marble, limestone and travertine: the same, with extra care about the smell. A silicone that smells like vinegar while curing is releasing acid, and acid is what etches these stones. Avoid it here.
- Quartz and porcelain: these are not porous, so a good kitchen and bath silicone with a mold inhibitor generally works. Still read the label.
- Top of a short backsplash against a painted wall: this line stays drier, and it is the one place a paintable acrylic caulk can make sense. Silicone will not hold paint.
For color, match the grout or the stone rather than defaulting to white. Clear looks like the easy answer, but it shows whatever is left behind it, so any residue you missed stays on display. If a sealant has already left a dark line in your stone, do not sand or scrub it. Send a photo first, because it may or may not draw back out.
How to redo the bead, step by step
Set aside an afternoon, plus the cure time. Most of the work is in the prep. People who redo this joint every year usually skipped step 2.
- Cut it out. Slice along both edges of the old bead with a utility knife, keeping the blade off the polished surface, and pull it out in strips. Use a plastic razor for what is left on the stone.
- Remove every trace. New silicone does not bond well to old silicone. Scrape, then wipe the joint with rubbing alcohol on a clean rag until the surface no longer feels slick. If you use a caulk remover, check that it is safe for your stone.
- Clean and dry. Wash away any mildew on the wall side with a mild cleaner, keeping acid and bleach off marble and limestone. Then let the joint dry completely. If it was wet behind the bead, give it a fan and a night.
- Tape both sides. Run painter's tape along the counter and the wall, leaving just the joint open. This gives you straight lines.
- Lay a thin bead. Cut the nozzle small and pull it along in one steady pass. On a gap wider than about a quarter inch, a common rule of thumb, press in foam backer rod first so the sealant is not trying to fill a hole.
- Smooth once. Use a caulk tool or a gloved finger in a single pass, then pull the tape right away, before the surface skins over.
- Leave it alone. Keep water off it for the full cure time on the tube.
If you would rather have someone look at it first, call or text 206-653-4479 with a photo.
When the caulk is telling you about something else
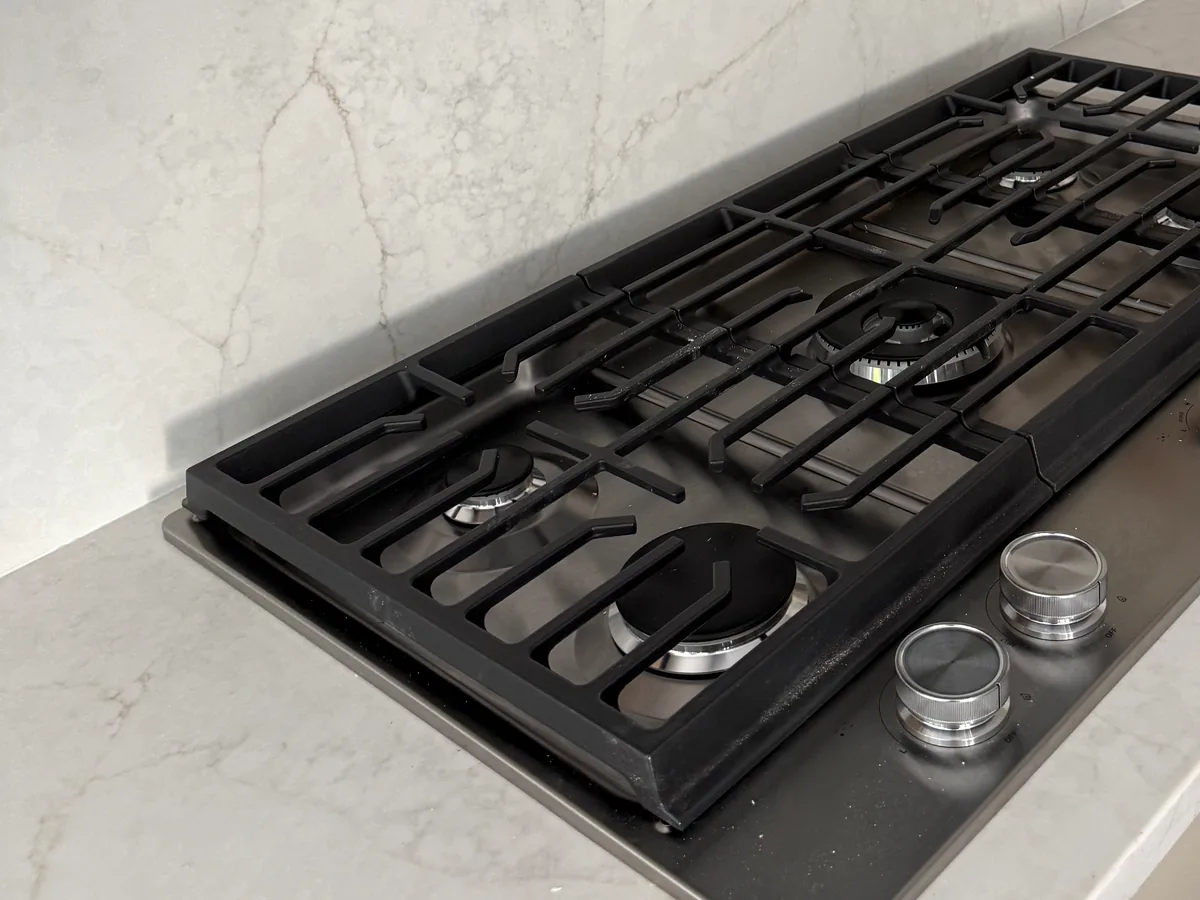
Sometimes a failed bead is the symptom. These are the signs we would want to know about before anyone reseals anything.
The gap keeps growing
Mark it with a pencil and measure again in a few weeks. A joint that opens over time means something is moving. A top that dips or flexes when you lean on it has a support problem, and sealant only hides that for a while.
The trouble is at the sink
Caulk at the sink rim is a different story. If the bead around an undermount bowl is failing and the bowl sits lower than it did, read about a sink that came loose before you caulk over it. Check under the cabinet too. A stain at the back of the base often comes from the faucet or the drain, not the backsplash.
The line is in the stone
Two pieces of countertop meeting each other make a seam, and that is not a place for silicone. Filling it with bath caulk makes the proper repair harder later. See what to do about a seam that opened.
The gap is wide only in the middle
Walls are rarely flat. A gap that swells in the middle of a run and closes at the ends is often just a bowed wall, and that is usually harmless. A thicker bead with backer rod can handle a small one. A large one may need a taller backsplash to cover it.
The mildew is back within weeks
If a clean new bead goes dark quickly, moisture is coming from somewhere: a slow leak, a wet wall or poor ventilation. Look for that before you reseal again. Replacing the caulk will not fix it.
Frequently asked questions
Should I use caulk or grout between the countertop and the backsplash?
Use a flexible sealant such as silicone. The counter and the wall are separate pieces that move a little on their own, and grout is hard, so it cracks along that line. Grout belongs between the tiles. The joint under the bottom row, and the corners where two walls meet, should stay flexible.
Why is the caulk on my countertop turning black?
Usually mildew. Soap residue and standing water give it something to live on, and the joint behind a sink stays damp longer than anywhere else. If the spots wipe off, it was on the surface. If they stay after a proper cleaning, it has grown into the bead or behind it, and the bead has to come out.
Can I put new caulk over the old caulk?
No. Fresh silicone does not bond well to old silicone, so the new bead peels, and the mildew stays sealed in underneath. Take the old bead out completely, clean off the residue with rubbing alcohol, let the joint dry, and start from clean surfaces.
What kind of caulk is safe for granite and marble countertops?
Look for a neutral cure silicone labeled safe for natural stone. Silicones that smell like vinegar while they cure release acid, which can etch marble and limestone. Some silicones can also leave a dark line in porous stone. Test in a hidden spot first if you can, and read the label, because formulas change.
How long does the new caulk need before the sink can be used?
Follow the cure time on the tube, which is often around a day for silicone. It can skin over in minutes and still be soft underneath. Water on it too early can spoil the surface and shorten its life, so keep that stretch of counter dry until the label says it is ready.
Is the black stuff behind the caulk dangerous?
A few specks in a bead are a routine cleaning job. Wear gloves, keep the room ventilated and take the bead out. A wide patch on the wall, soft drywall or a musty cabinet is different. That points to a moisture problem behind the surface, and it should be looked at by someone who handles water damage before anything gets resealed.
Not sure which one you have? Send a photo
Take one straight on and one close up along the joint, plus a shot of the cabinet underneath if something looks wet. Tell us the stone if you know it. If it is a job you can do yourself, we will tell you so. If something else is going on, our countertop repair page explains how we look at it, and Lynnwood neighbors can start with repair in Lynnwood. Top Granite is a family business in Lynnwood. Call or text 206-653-4479, use the contact page, or start with the budget planner.
What could your
countertops cost?
Answer a few questions about your space and material and get an estimated range in about two minutes. Your formal quote follows a laser template and a review of the scope.
Your ideas in. A clearer next step out.
Rather talk it through? 206-653-4479 ↗︎What would you like to change?
Which material are you leaning toward?
Build my countertop estimateChoose your details and see your estimated range.
Related reading.
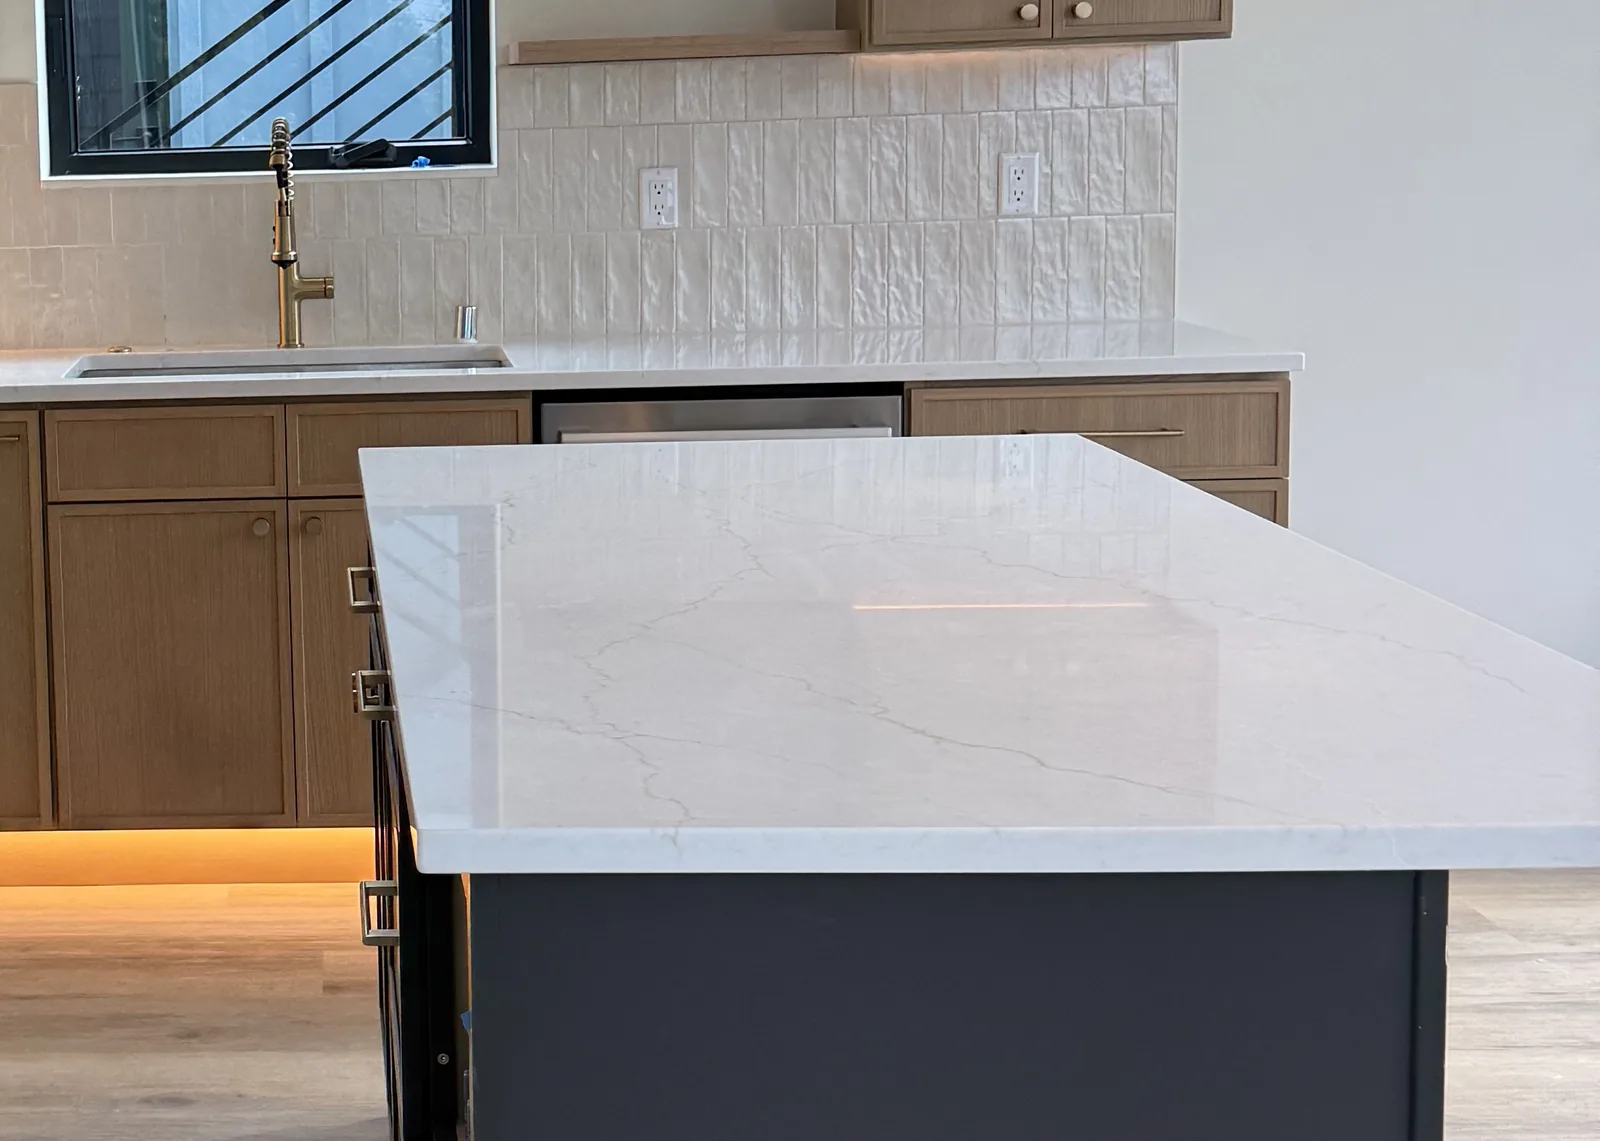
A countertop seam that opened: why it happens and how it is fixed
A seam that has opened, stepped or gone dark is rarely the stone. Four causes, from cabinets that moved to silicone used where epoxy belonged, a two minute test you can run yourself, and how the joint is reset.
Read article ↗︎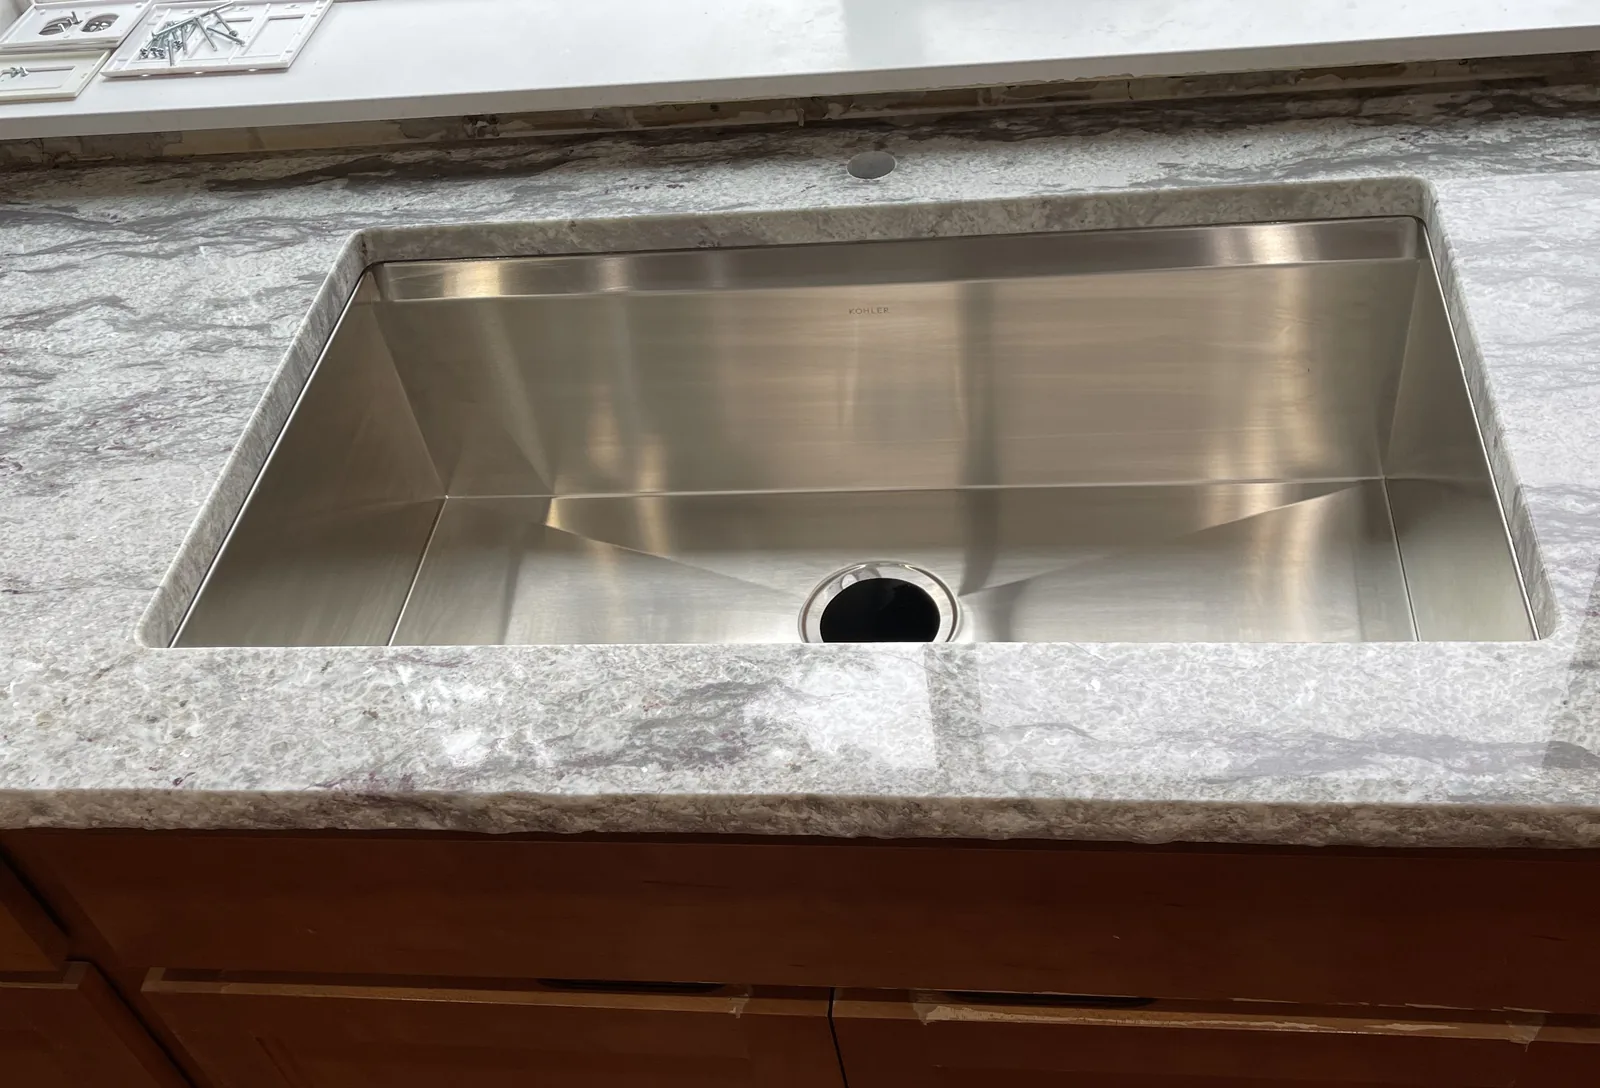
Your undermount sink came loose: why it happens and what fixes it
A sink that has dropped, tilted or pulled away from the stone is a mounting failure, not a stone failure. What to do in the first ten minutes, the seven things that cause it, and what a proper re-set actually involves.
Read article ↗︎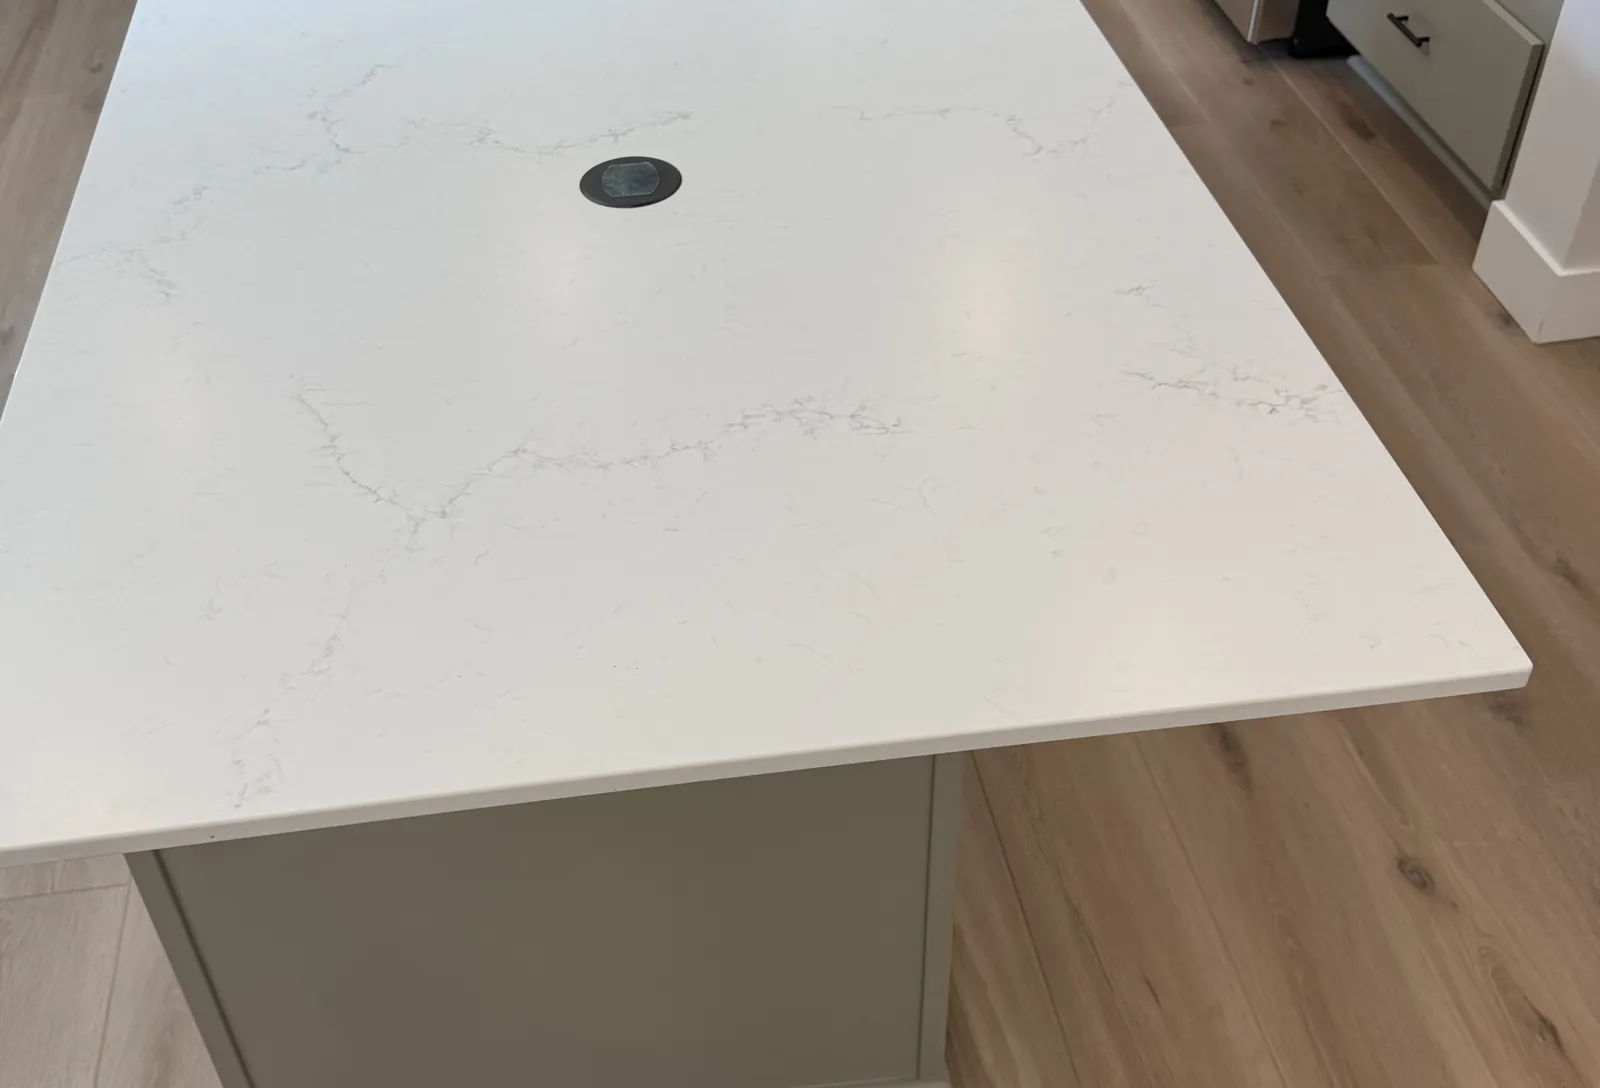
A countertop that flexes or dips: what is holding it up
Stone does not bend. A counter that gives when you lean on it, sits low at one end or has eased off the wall is a support problem underneath. What holds an overhang up, five checks you can run yourself, and what the fix involves.
Read article ↗︎Bring your ideas.
We’ll help with the next step.
Choose the next step that feels right for you.